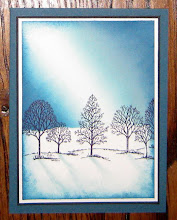


I did the Faux Tile technique on this card and I love how it came out! I have seen this technique a bunch of times but never tried it before. My Aunt passed away last week, and I made this card for her, even thought I can't send it to her. I think she would have liked it.
Now that we have the new Simply Scored tool, it's really easy to make this card! Here is how I did it.
I scored my Vanilla card stock at 1/2" intervals in both directions. I cut it 4" x 5" so it would be easy to do, then decided I wanted it smaller so just cut a little off each side to keep it centered.

After I scored it, I stamped the En Francais background stamp on it and sponged the edges lightly with Crumb Cake ink. You want to make sure when you stamp, you do it lightly so it doesn't show up in the score marks. Then I stamped the Inspired by Nature flower in Early Espresso ink. Once it was dry I used my VersaMark pad to lightly cover the top of the card and I embossed it with clear embossing powder. Add your sentiment from the You are Loved stamp set from the Holiday Mini and your pearls and you are finished!


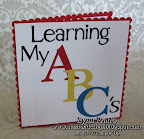 ABC Book
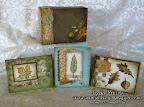 3 Card w/ Box
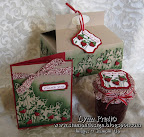 Jar Gift Set
 Pocket Glider Card
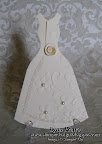 Tri-fold Wedding
 Sunhat & Glasses
 Flirtatious Purse
 Swap Garden Bag
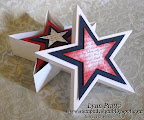 Star Cards/Box
 Fun Frames
 Treasure Box, Card
 Fun Folds Open Sea
 Glider Card
 Nurse Box & Cards
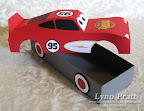 Race Car Box
 Castle Frame
 Egg Gift Card
 Bug Cards
 Tux card
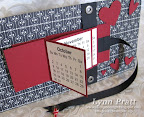 Flip Calendar
 Photo CD Album
 Gingerbread Box
 Gift Card Holder
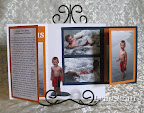 Fold Scrapbook
 Diabetes Purse
 X-mas Cards
 Haunted House
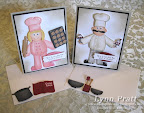 Chef Pop-out
 Chef Pop-out
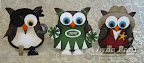 Owl Cards 2
 Spooky Punches
 Foliage Box+Cards
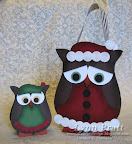 Owl Purse +Cards
 Bus, Fire, Police
 Briefcase & Cards
 Cylinder Purse
 AE 3 Cards
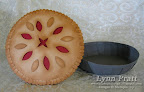 Pie Box&Card
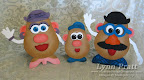 Potato Heads
 Castle Album
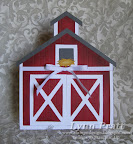 Scrapbook Album
 Scrapbook Album
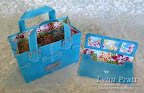 Purse & Wallet
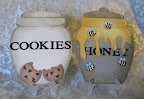 Jar Cards
 Animal Cards
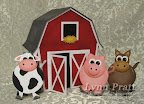 Barn & Cards
 Gardeners Bag
 Picnic Basket
 Cupcake cup
 Chocolate Candy
 Bird in Cage
 Pool Table
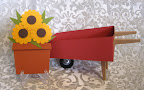 Wheelbarrow
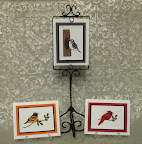 Bird Cards#2
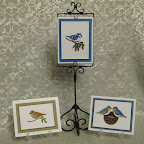 Bird Cards
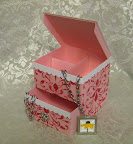 Jewelry Box
 Clock Game
 Purse & Cards
 Rag Purse
 Teapot and Cards
 Sheep box & cards
 Egg Box & Chicks
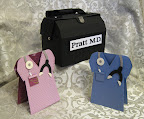 Doctor's Bag
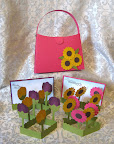 Pop-out Flower
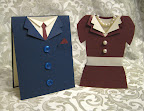 Suit Dress Card
 Explosion Box
 Vest Card
 Tackle Box
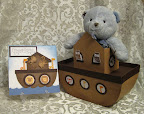 Noah's Ark
 Love Coupon
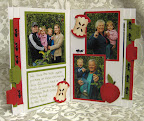 Pull-out Scrapbook
 Calendar Book
 Card Box
 Cupcake Box
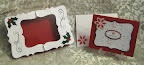 Photo Box
 Woven Basket
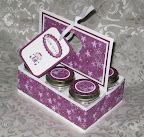 Six Pack Baby Jars
 Scrapbook
 Scrapbook
 Santa Wine
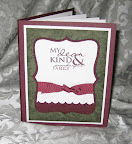 Top Note Album
 Top Note Album
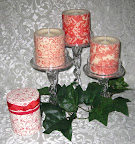 Decorative Candles
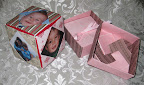 Origami Cube-Box
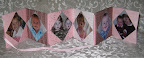 Origami Album