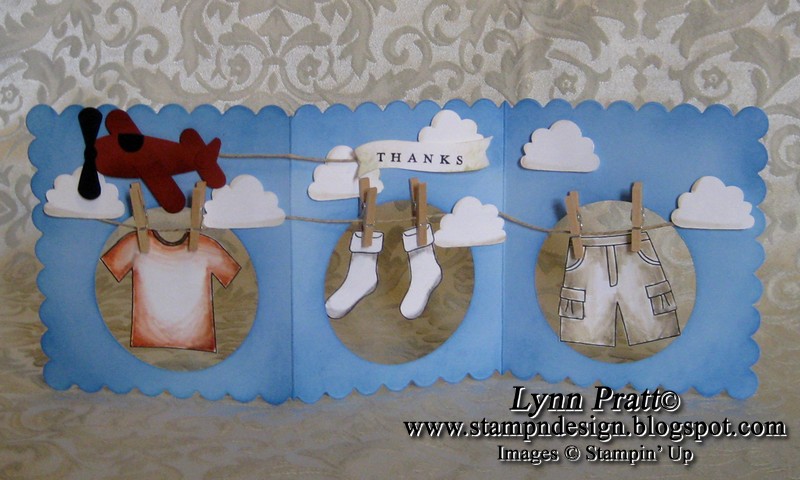


Here is my Clothesline Thank You Card! I have a friend who so generously gives us her sons old clothes for Timmy. These clothes are great and Timmy loves to be wearing "Brett's clothes", it's so cute! This is the thank you card that I made for her. I thought this could also be an adorable baby card with onesies on the line. I'm sure that's going to be my next one, so check back soon!
Here is how I made it:
I scored a 12" x 4-3/8" piece of Bashful Blue cardstock at 4-1/4" in from both sides. This makes the middle section 3-1/2". I then folded it and centered it in the scallop square die on the Big Shot to get my main card shape.

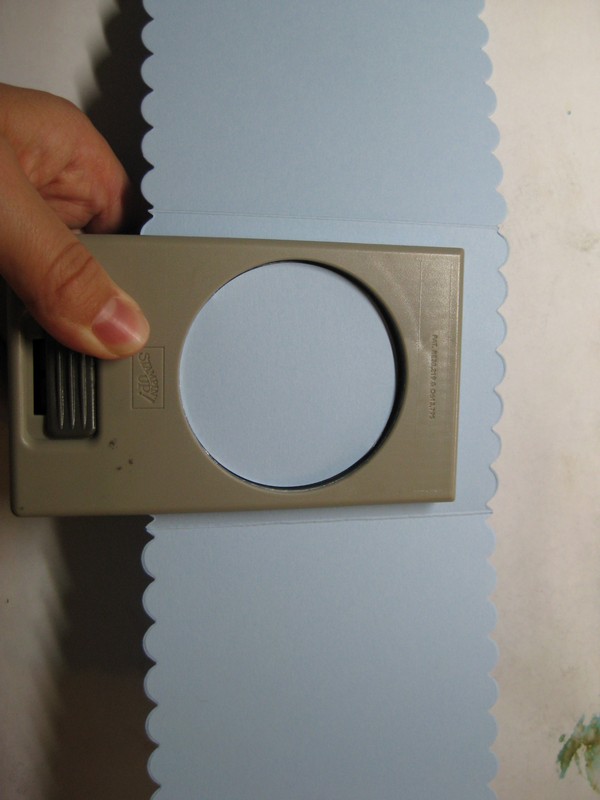
Then I used the 2-1/2" Circle Punch in the center square as far up as it could go. Then I folded over each side one at a time, and used the center as a guide to punch the other two.


To make the airplane I used the Large Oval and Word Window punches. I did not take good pictures while I was doing this, so I will do another one with better instructions. I basically just trimmed each piece a bit to get it the length I wanted. Check back for better directions to come soon!


For the clothes I used the template below and printed it out on Whisper White cardstock and colored them in. The I used twine for the clothes line and the new mini clothespins to keep the clothes on. The twine is attached with Mini Glue Dots and then I used the Cupcake punch to make the clouds and cover them up. The "thanks" is from the Word Play stamp set and just cut into a banner shape.
CLICK HERE for the template!


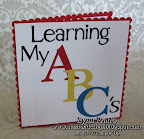 ABC Book
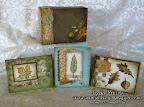 3 Card w/ Box
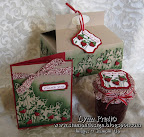 Jar Gift Set
 Pocket Glider Card
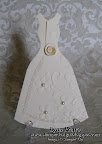 Tri-fold Wedding
 Sunhat & Glasses
 Flirtatious Purse
 Swap Garden Bag
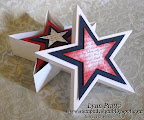 Star Cards/Box
 Fun Frames
 Treasure Box, Card
 Fun Folds Open Sea
 Glider Card
 Nurse Box & Cards
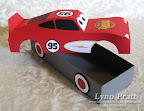 Race Car Box
 Castle Frame
 Egg Gift Card
 Bug Cards
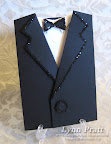 Tux card
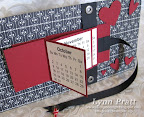 Flip Calendar
 Photo CD Album
 Gingerbread Box
 Gift Card Holder
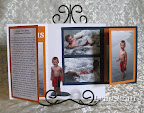 Fold Scrapbook
 Diabetes Purse
 X-mas Cards
 Haunted House
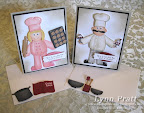 Chef Pop-out
 Chef Pop-out
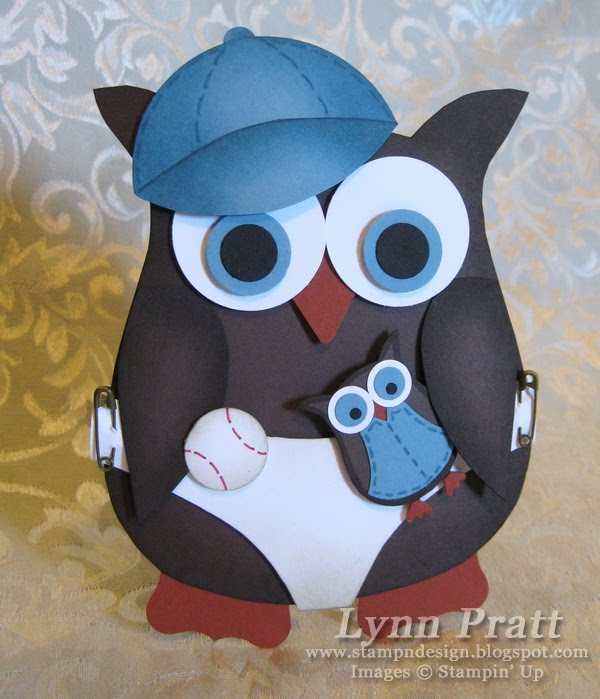
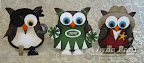 Owl Cards 2
 Spooky Punches
 Foliage Box+Cards
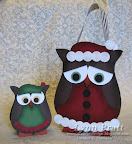 Owl Purse +Cards
 Bus, Fire, Police
 Briefcase & Cards
 Cylinder Purse
 AE 3 Cards
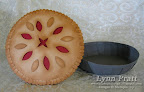 Pie Box&Card
 Potato Heads
 Castle Album
 Scrapbook Album
 Scrapbook Album
 Purse & Wallet
 Jar Cards
 Animal Cards
 Barn & Cards
 Gardeners Bag
 Picnic Basket
 Cupcake cup
 Chocolate Candy
 Bird in Cage
 Pool Table
 Wheelbarrow
 Bird Cards#2
 Bird Cards
 Jewelry Box
 Clock Game
 Purse & Cards
 Rag Purse
 Teapot and Cards
 Sheep box & cards
 Egg Box & Chicks
 Doctor's Bag
 Pop-out Flower
 Suit Dress Card
 Explosion Box
 Vest Card
 Tackle Box
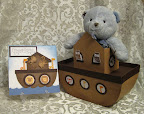 Noah's Ark
 Love Coupon
 Pull-out Scrapbook
 Calendar Book
 Card Box
 Cupcake Box
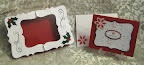 Photo Box
 Woven Basket
 Six Pack Baby Jars
 Scrapbook
 Scrapbook
 Santa Wine
 Top Note Album
 Top Note Album
 Decorative Candles
 Origami Cube-Box
 Origami Album