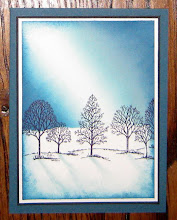
 I saw one of these fabric bears at a recent demonstrator meeting that I went to made by Fran Trischetta (who saw it on Shelli's blog), using different sized circles. I wanted to make them using only Stampin' Up dies with the Big Shot, so I made these using the Scallop Circle and Scallop Circle #2 Die Cuts. Needless to say, my daughter is in love with this little bear! He is so cute and little, only about 3" tall.
Here is how I did it!
You will need one large scallop for the body, one medium scallop for the head, and six small ones for the ears, arms and legs. You are going to sew around them, going in and out every scallop with thread. (This is called making a yoyo.) I used the new Flirtatious fabric from the new catalog to make this. You can get yours July 1st!

Now when you pull the thread it will gather the edges like shown below.


You are going to put a little bit of pillow stuffing (or cotton balls) in each one and then pull your string tight and tie it to make these little balls. You want them stuffed pretty full.

Then I just used a hot glue gun to put the head, ears, arms and legs onto the body. I used the Filigree brads for the nose and black brads for the eyes and nose. You might want to put these on before you stuff the head. I did it after and made it kind of tough. Then add the bow and you are finished!


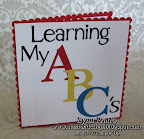 ABC Book
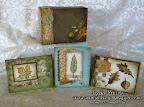 3 Card w/ Box
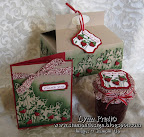 Jar Gift Set
 Pocket Glider Card
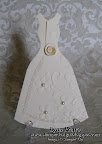 Tri-fold Wedding
 Sunhat & Glasses
 Flirtatious Purse
 Swap Garden Bag
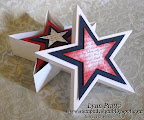 Star Cards/Box
 Fun Frames
 Treasure Box, Card
 Fun Folds Open Sea
 Glider Card
 Nurse Box & Cards
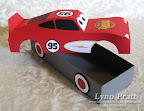 Race Car Box
 Castle Frame
 Egg Gift Card
 Bug Cards
 Tux card
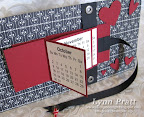 Flip Calendar
 Photo CD Album
 Gingerbread Box
 Gift Card Holder
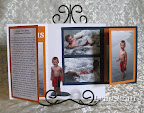 Fold Scrapbook
 Diabetes Purse
 X-mas Cards
 Haunted House
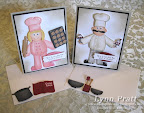 Chef Pop-out
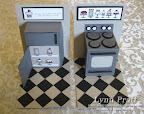 Chef Pop-out
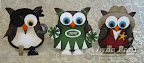 Owl Cards 2
 Spooky Punches
 Foliage Box+Cards
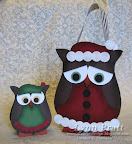 Owl Purse +Cards
 Bus, Fire, Police
 Briefcase & Cards
 Cylinder Purse
 AE 3 Cards
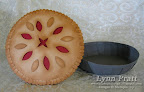 Pie Box&Card
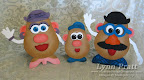 Potato Heads
 Castle Album
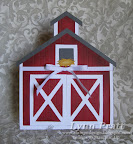 Scrapbook Album
 Scrapbook Album
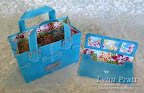 Purse & Wallet
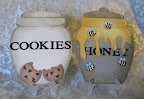 Jar Cards
 Animal Cards
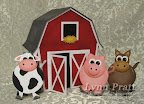 Barn & Cards
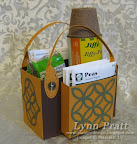 Gardeners Bag
 Picnic Basket
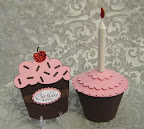 Cupcake cup
 Chocolate Candy
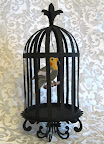 Bird in Cage
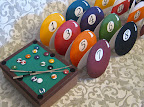 Pool Table
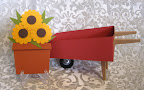 Wheelbarrow
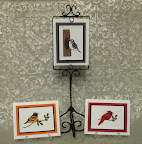 Bird Cards#2
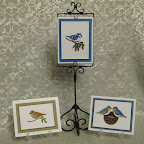 Bird Cards
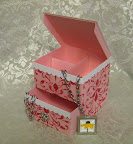 Jewelry Box
 Clock Game
 Purse & Cards
 Rag Purse
 Teapot and Cards
 Sheep box & cards
 Egg Box & Chicks
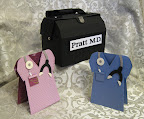 Doctor's Bag
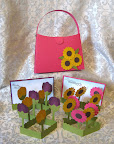 Pop-out Flower
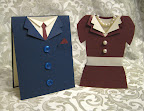 Suit Dress Card
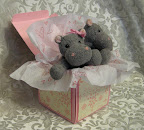 Explosion Box
 Vest Card
 Tackle Box
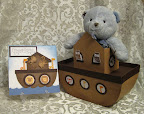 Noah's Ark
 Love Coupon
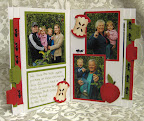 Pull-out Scrapbook
 Calendar Book
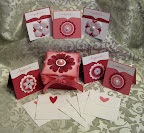 Card Box
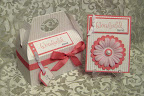 Cupcake Box
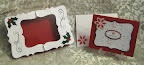 Photo Box
 Woven Basket
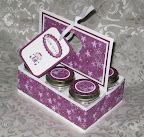 Six Pack Baby Jars
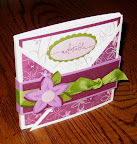 Scrapbook
 Scrapbook
 Santa Wine
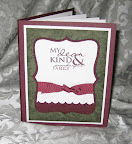 Top Note Album
 Top Note Album
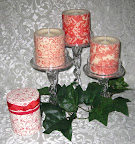 Decorative Candles
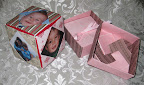 Origami Cube-Box
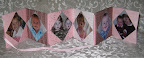 Origami Album